Balsa sanding sealer for rocket fins: a finish guide
Balsa sanding sealer helps prepare porous rocket fins for paint, but the name on the bottle doesn’t tell you the whole finishing process. Some products combine sealing and grain filling. Others need a separate filler or a specific undercoat. Choose the coating system before you start brushing anything onto the fins.
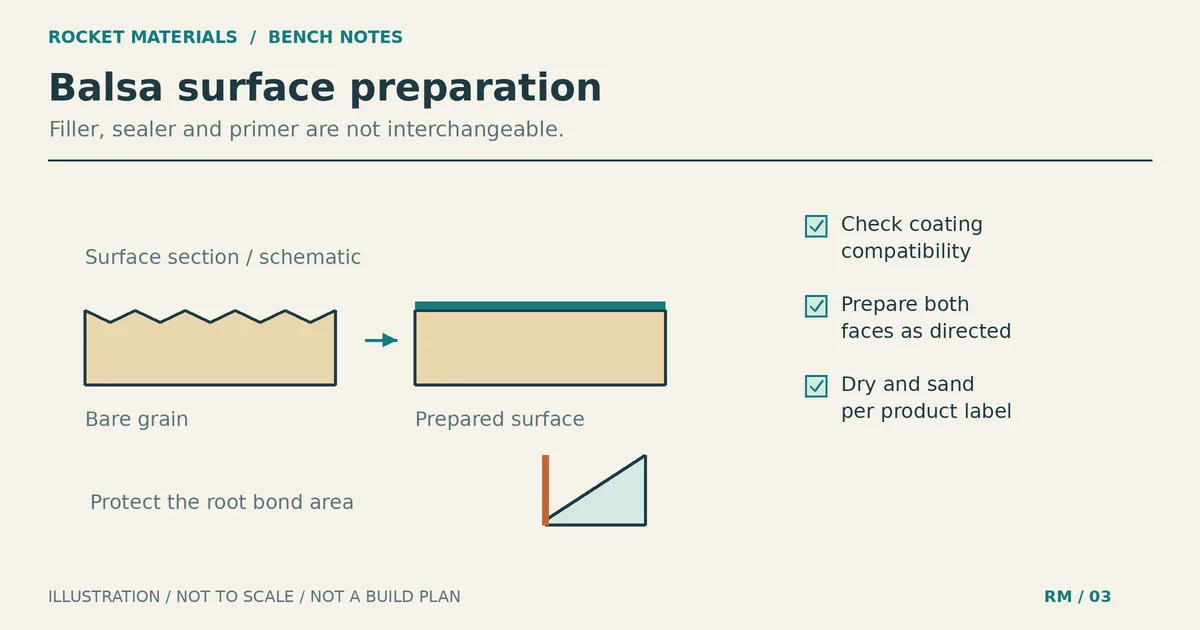
For a typical kit with exposed balsa fins, the job is to smooth the wood, fill the grain without burying the fin in coating, and leave a surface your chosen paint can bond to. Keep the root attachment area bare if the fins haven’t been glued on yet. Follow the kit’s assembly order and the coating manufacturer’s directions.
Sealer, filler and primer do different jobs
These terms overlap in hobby instructions. Apogee’s balsa finishing demonstration, for example, describes a water-based wood filler as a sanding sealer. That doesn’t make every wood filler interchangeable with every bottled sealer.
| Material | Main job | What to check |
|---|---|---|
| Sanding sealer | Prepare wood grain for later finishing; some formulations also contain grain-filling solids. | Required undercoats, permitted topcoats and sanding instructions. |
| Wood or grain filler | Fill shallow pores and depressions so the surface can be sanded level. | Suitability for the wood, paintability and whether thinning is permitted. |
| Sandable primer | Provide a base for paint and help reveal or fill minor surface defects. | Approved substrates, sanding stage and the next coating’s recoat requirements. |
You don’t automatically need all three. The Estes Model Rocketry Technical Manual describes grain filling with suitable primers or wood fillers, then an optional primer coat before color. Pick a documented route rather than adding another layer because its label sounds useful.
A smooth finish also doesn’t prove that a fin is strong enough. If you’re still selecting stock, start with the kit requirements and our balsa versus basswood fin comparison. Finishing comes after that decision.
Choose balsa sanding sealer by coating compatibility
Two manufacturer examples show why the exact formulation matters. SIG Sanding Sealer is a low-shrink butyrate-dope formulation with easy-to-sand fillers. SIG documents it for a butyrate-dope finish, with clear dope underneath, and states compatibility with its other butyrate-dope products. That is a specific finishing system, not approval to put any spray paint over it.
Deluxe Materials Sand ‘n’ Seal, BD49 is a brush-applied wood grain sealer. Its manufacturer specifies water cleanup for brushes and lists enamel, cellulose, acrylic and epoxy paints as compatible types. Those statements apply to that product. They don’t remove the need to check the particular primer and paint you intend to use.
Neither example establishes a brand ranking. Choose a product whose instructions cover the coatings you plan to use.
Before using the system on the rocket, apply it to a scrap from the same balsa sheet. Include every planned layer, allowing each one the drying and recoating conditions its maker requires. Inspect for lifting, wrinkles, tackiness or poor adhesion. Estes recommends a scrap test when paint compatibility is uncertain. A successful test helps catch problems; it isn’t a structural test or a guarantee against later damage.
Prepare the fins and protect the glue surfaces
Gather the kit instructions, a small sanding block, suitable abrasives, a clean brush and your chosen filler or sealer. Keep the product label and safety data sheet available. You also need a way to support the fins without bending them or resting wet faces on the bench.
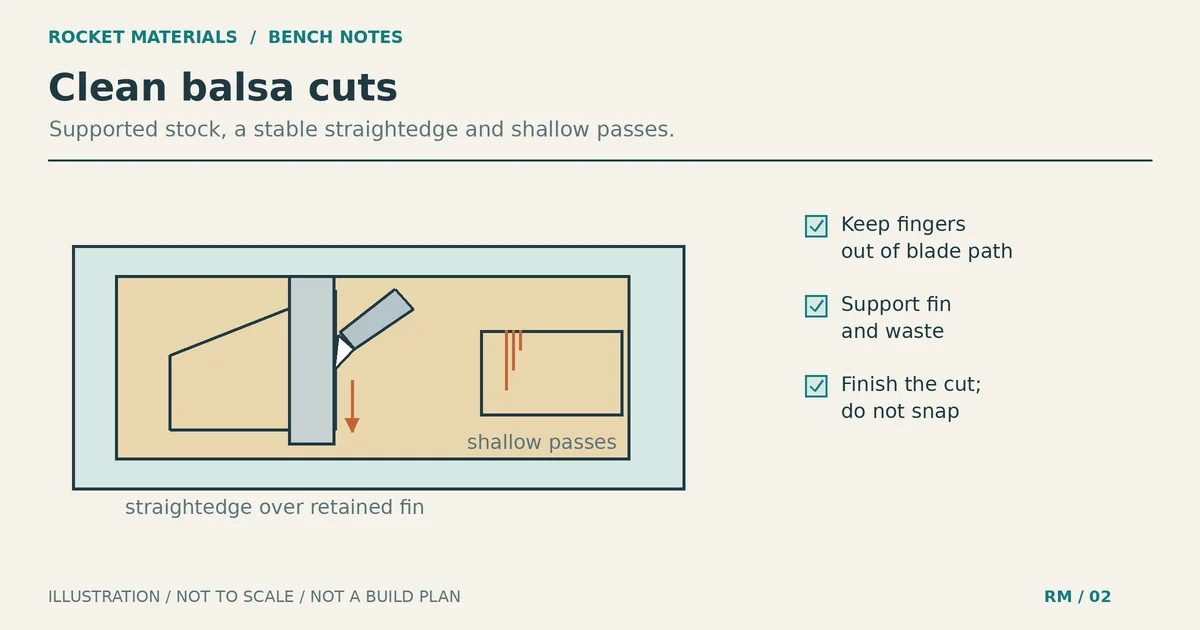
Inspect the wood before coating it. Reject or replace a cracked fin according to the kit manufacturer’s guidance. Check the intended shape and edge treatment, but don’t create an airfoil just because a finishing demonstration shows one. Preserve the kit’s geometry.
Sand the bare faces lightly, preferably while they still have good support. Apogee demonstrates initial sanding with about 220-grit paper. Use light pressure and follow any more specific kit directions. The aim is to remove roughness, not noticeably reduce the sheet thickness. Support a loose fin on a clean, flat surface while working on its broad face.
If the fins are still loose, keep the root edge and any adhesive contact area free of sealer, filler and primer. Apogee specifically leaves the root untreated so the glue can contact the wood fibers. This includes a fin tab or fillet contact zone where the kit needs a bare bond surface. Use the kit’s joint layout rather than guessing the width.
If assembly comes first, let the joints cure as directed before finishing around them. Don’t sand into the attachment while smoothing the nearby face. Our fin alignment and joint inspection guide covers the assembly checks; a neat paint job won’t correct a crooked or loose fin.
Fill the grain without building a thick shell
Remove sanding dust with a clean, dry brush or another method approved for the coating. Avoid soaking bare balsa to clean it. Stir the product if directed, then apply the amount its instructions call for. Work it into the surface grain rather than leaving ridges that will need heavy sanding later.
Apogee demonstrates a water-based wood filler on balsa fins. If you choose that route, check the current filler’s directions before adding water. A demonstration’s consistency or dilution recipe doesn’t establish what is permitted for a different formulation.
Water can warp wood. Apogee coats both faces during the same working session to reduce uneven wetting. For loose fins and a product that permits this method, treat both faces comparably and support the fin so air can reach them. Don’t flood one face and leave the other dry. Balanced application reduces a known cause of bowing; it cannot promise that every fin will stay flat.
Cover the exposed tip and shaped edges as the product directs, while protecting the root. Let the coating dry in the conditions specified by its manufacturer. Don’t accelerate drying with a hairdryer, heat gun or oven. That shortcut is especially inappropriate around solvent coatings and flammable vapors.
Keep solvent-containing coatings and aerosols away from flames, sparks and ignition sources. Use the ventilation and protective equipment required by the label and safety data sheet. NIOSH explains that filtering facepiece respirators such as N95s do not protect against gases or vapors. Water cleanup or low odor is not permission to ignore skin, eye or dust precautions. Keep rocket motors and starters out of the finishing area.
Sand the coating, then inspect before primer
Begin sanding only when the product is ready for it. Touch-dry, sandable and ready to recoat can be different stages. There is no useful universal overnight rule for every filler, sealer and paint combination.
Support the fin and sand with light pressure. Apogee uses about 220 grit on its dried wood filler; Estes describes 320 grit or finer for its grain-filling primer procedure. These are different processes, not a compulsory two-step grit schedule. Use the abrasive appropriate to your selected coating and its instructions.
Remove excess surface buildup while leaving material in the shallow grain depressions. Stop before you start removing sound wood to chase a low spot. For a remaining shallow depression, use a localized application if the product permits it, let it dry, and sand again. Don’t keep coating the entire fin for one small defect.
Inspect both faces under light coming from the side. Look along the edges for lumps and uneven contours. A fin can feel smooth under a fingertip while still showing a ridge that the color coat will expose. Check that the root remains clean and that the fin hasn’t bowed.
If your paint system calls for primer, use a compatible sandable product in light coats. Estes describes a final primer coat as a way to provide a uniform base and fill minor imperfections; its general procedure uses 400-grit or finer paper after drying. Current product instructions take priority over that historical guide.
Common finishing faults and when to stop
- If grain still shows, inspect for shallow unfilled pores. Repair those areas instead of hiding them under a heavy color coat.
- If paper clogs or the coating smears, stop sanding. Check its drying requirements and whether the abrasive is suitable before continuing.
- If a fin bows, stop coating and inspect after the prescribed drying stage. Don’t force it flat with its glue joint or assume paint will straighten it.
- If primer wrinkles or lifts the layer below, stop adding coatings. Recheck compatibility and recoat conditions on scrap before choosing a repair method.
- If you uncover a crack or damage a root joint, treat that as a construction problem. Filler is not a load-bearing repair.
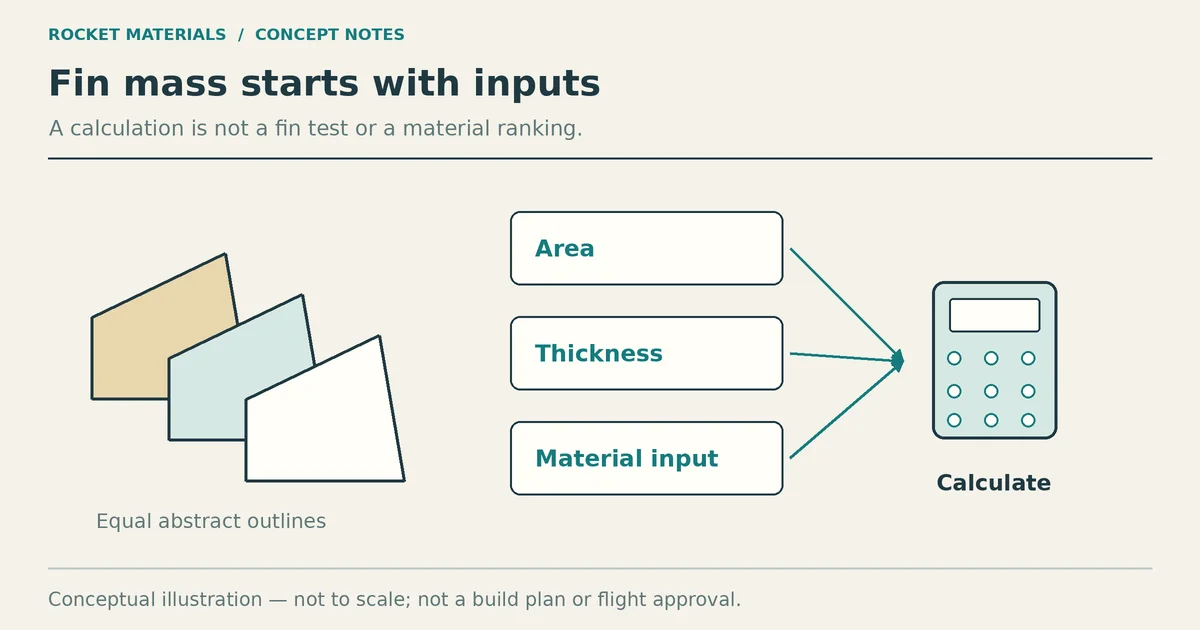
Keep the finish modest. Added coating contributes to finished mass, so compare the completed rocket with the kit’s requirements rather than judging weight from bare wood alone. Our fin material weight guide explains why stock weight is only part of the calculation.
A paint-ready surface is the stopping point
Before color, confirm that the grain is filled to the finish you want, sanding dust is removed, and the next coating is permitted over the layer below. The fins should retain their intended shape, with clean bond surfaces or sound completed joints.
Don’t mistake this inspection for flight approval. Sealer doesn’t fix poor stock, alignment or attachment, and it doesn’t replace design-specific fin reinforcement checks. Make the scrap test first, follow the documented coating sequence, and stop adding material once the surface is ready for paint.