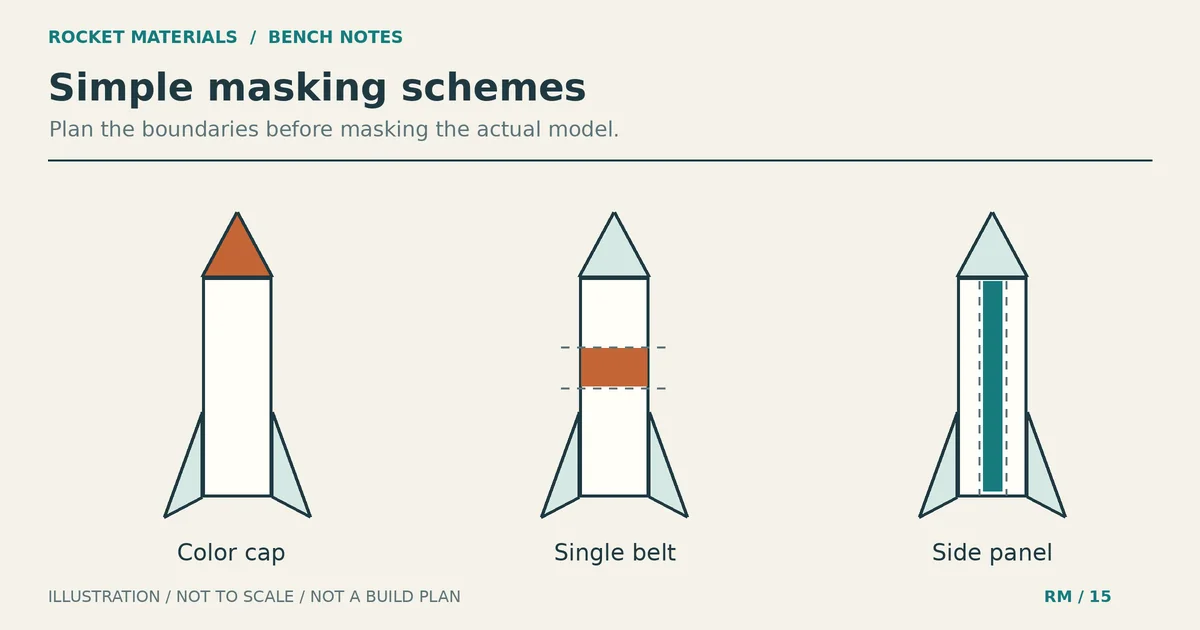
Model rocket painting ideas with simple masking plans
A rocket can look busy on paper and turn into a muddle once the design wraps around a narrow tube. The easiest model rocket painting ideas start with one broad base color and an accent you can mask without threading tape through every fin joint. A colored nose, a single belt or a long side panel gives you a clear design without a weekend of tiny masks.
The five schemes below are original design suggestions, not flight-tested tracking patterns. Their proportions are starting points for a paper sketch, not structural dimensions. Keep your kit’s geometry and hardware unchanged. Pick the layout you like, then check the actual paint and tape instructions before putting it on the rocket.
Choose a scheme by its masking boundaries
Count the edges you need to mask, rather than the colors in the drawing. A two-color checkerboard can take more planning than a body with a contrasting nose and fins. If this is your first multicolor finish, start with the cap or belt.
| Scheme | Suggested colors | Main masking job | Simpler version |
|---|---|---|---|
| Color cap | White body, orange nose | Protect the shoulder and separation surfaces | Leave every fin white |
| Single belt | Pale yellow body, navy band | Two rings around a straight tube section | Use one broad band, without pinstripes |
| Offset spine | White body, teal panel | Two long edges and panel ends | End the panel above the fins |
| Split fin set | White body, orange fins, one navy fin | Protect the body around fin roots | Make all fins the same accent color |
| Single window | Blue body, white rectangular panel | Four edges on an open tube area | Omit the border and lettering |
Color names describe the intended appearance, not a recommended paint product. You can reuse a color layout on different airframe materials, but check the coating system for each surface. If you’re still choosing an airframe, the cardboard versus fiberglass body-tube comparison covers that separate decision.
Five model rocket painting ideas with masking plans
1. White body with an orange color cap
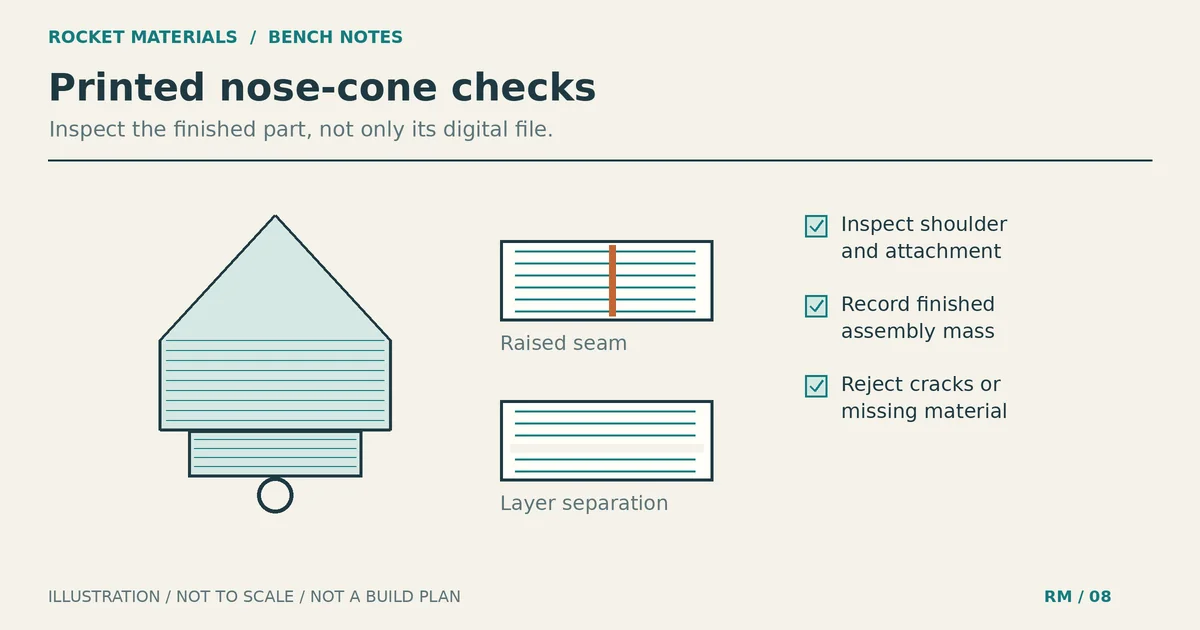
Keep the tube and fins white and use orange on the exposed nose cone. This is the least fussy layout here because the visual break follows a part boundary. You can change orange to red or blue without redrawing the scheme.
If the kit lets you paint the nose separately, protect its shoulder and mating surfaces as the instructions require. Keep paint out of recovery attachment features. Paint only the exterior area intended for finishing, and don’t use the color break as a reason to glue a removable nose in place.
For a slightly more detailed version, repeat orange on one fin. Sketch both side views first: a single colored fin will disappear from some viewing angles. Treat that as a design choice, not a dependable way to tell the rocket’s orientation in flight.
2. Pale yellow body with one navy belt
Put a broad navy band on the open body tube, away from the fin roots and separation joint. On the sketch, try a band about as wide as the tube looks in side view. Move it along the body until the spacing above and below feels right.
Paint the base color first. Once that coating is ready for masking under its own instructions, place two tape boundaries around the tube and leave the belt area exposed. A loose paper strip can help you check that each ring meets itself without stepping upward at the join. Remove that measuring strip before painting.
Cover the rest of the rocket with paper attached to the edge tape. Check the underside as well as the side facing you. Skip the thin white pinstripes sometimes drawn beside a band; preserving two narrow gaps adds more edges than the main belt needs.
3. White body with an offset teal spine
Draw one long teal panel down the body, slightly off center in your preferred side view. Stop it short of the nose joint and above the fin area. Leaving white space at both ends makes the panel look deliberate without asking you to mask across curved joints.
Mark the panel ends on a paper mockup. Use two long tape edges to define its sides, then close the ends with short pieces. Mask everything outside the exposed panel. Place tape intersections outside the colored opening where possible, rather than stacking a lumpy overlap right on its boundary.
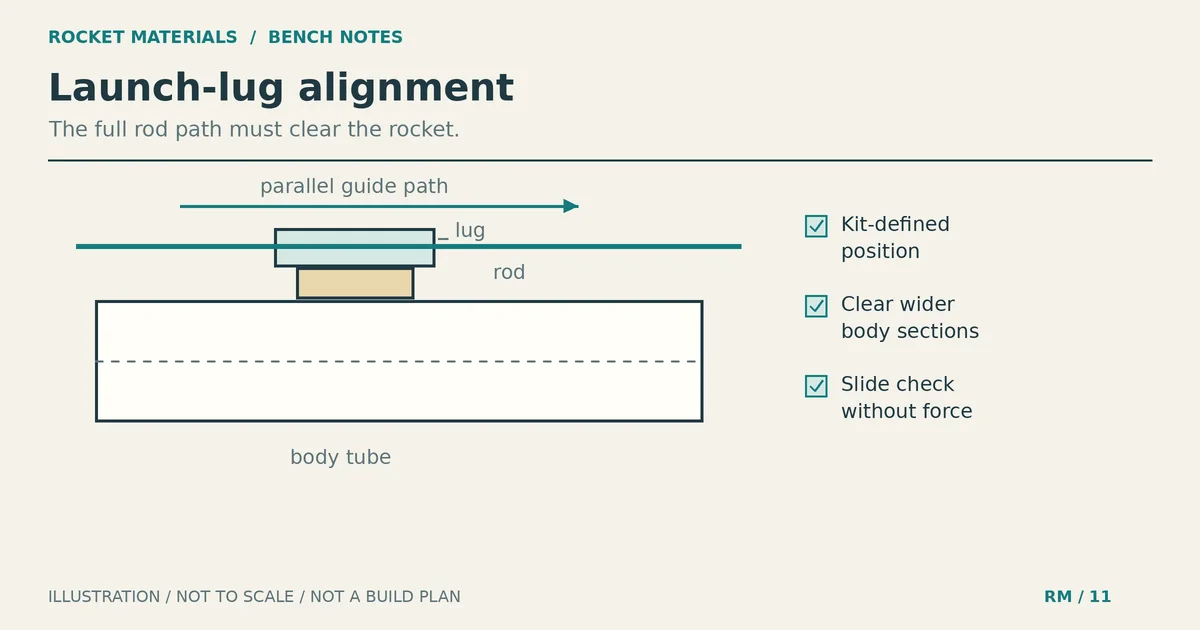
A wraparound paper sketch helps you notice a panel that sits behind a launch lug. Move the painted panel, not the hardware. The fin alignment and inspection guide is useful for checking the underlying build before a stripe makes any crooked placement more noticeable.
4. Orange fins with one navy fin
Leave the body white and make the fin set orange, with one fin navy. This has a different look from a ring or stripe because the color follows the existing shape of each fin. You don’t need to draw another pattern inside it.
Choose the odd-colored fin on the paper plan and show both faces. For an assembled kit, protect the tube and neighboring fins, then define the paint boundary around the selected fin’s root. Decide whether the visible fillet belongs to the body color or fin color before masking. Avoid changing that decision halfway around the joint.
This layout asks for more awkward masking than the color cap. If access around the roots is poor, keep the fins white and color only the nose. Don’t alter the kit’s assembly order just to make painting easier, and don’t add heavy decorative pieces to imitate a painted accent.
5. Blue body with a single white window
Reserve a white rectangular panel on a blue body. It can be a plain graphic block or an open space for a short name later. A single large rectangle is easier to lay out than repeated checks around a tube.
Start with the compatible white base, then mask the rectangle you want to preserve before applying blue around it. This reverses the exposed-area plan of the teal spine: the panel is covered, not open. Put it on an unobstructed part of the tube and keep its edges clear of separation joints.
Try a tall rectangle for a short name or a wide one for a simple symbol. Avoid wrapping a long word around the back where neither side shows it completely. Leave out a contrasting border on the first version; you can judge the plain window before committing to another masking stage.
Plan contrast without promising better tracking
For the paper design, try broad light and dark areas before adding small details. A pale body with a dark band gives you a different brightness pattern from two similar mid-tone colors. Fine pinstripes can look good close up but contribute little to the overall shape of the scheme.
Compare your colored sketch against photos of your usual field and against a pale sky background. That is a design check, not a visibility test. Light, distance, rocket orientation and the actual background can change what you see. No color combination here guarantees that you can follow a flight or find a landed rocket.
Don’t compensate for an ambitious finish by changing motors or recovery hardware without a design check. Keep decorative layers restrained and check the completed rocket under the kit’s instructions. The fin material weight comparison explains why component mass needs explicit accounting; the parachute sizing guide addresses recovery using the actual rocket mass rather than its appearance.
Check the coating system before masking
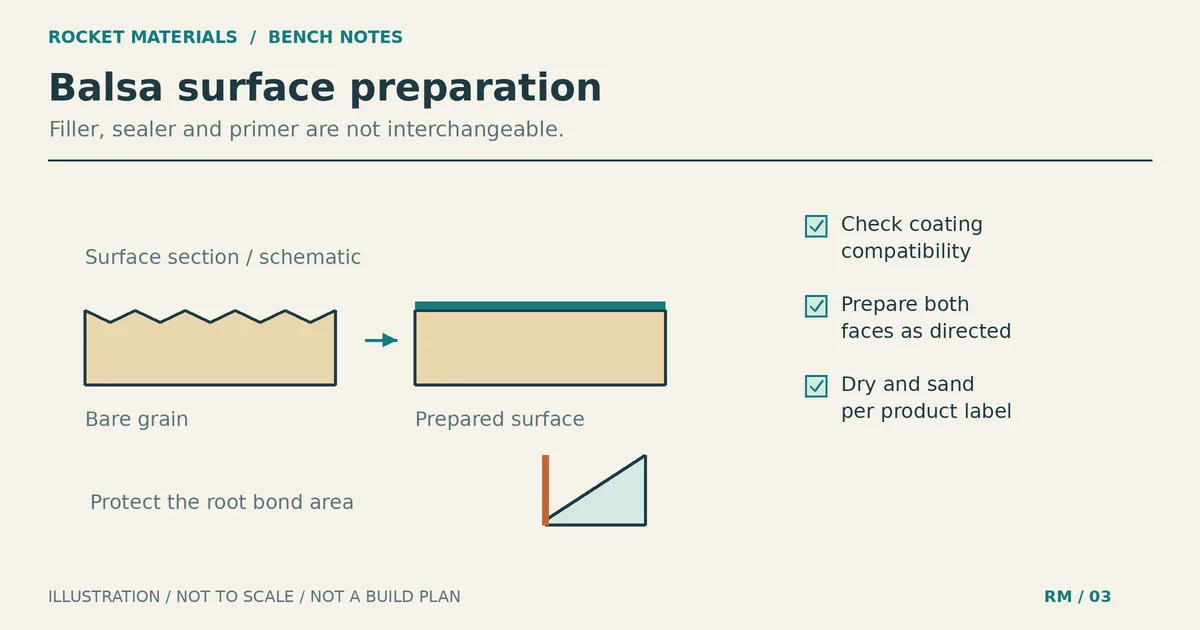
A nice palette doesn’t establish paint compatibility. The Estes technical manual’s finishing section warns that mixing paint types can wrinkle or craze a finish and recommends a scrap compatibility check. It also describes using the lighter base first, covering large preserved areas with paper and sealing the mask edges with a thin coat of the base color before adding the next color.
Use that edge-sealing method only if the exact coating system permits the additional coat and its timing. A matching brand name alone doesn’t settle compatibility. Make a scrap sample with the same surface preparation, coatings and tape you intend to use. Check both the added color and tape removal before committing to the rocket.
Krylon’s spray-paint FAQ directs users to each product label for dry and recoat times. A recoat interval is not automatically permission to apply masking tape. Follow the paint and tape requirements together rather than using one overnight wait for every finish.
The 3M painter’s-tape FAQ gives fresh-paint guidance and warns that painter’s tape can react with lacquer coatings. Its household-surface advice is not a guarantee for your rocket’s paint stack. Choose tape intended for the surface and verify it on the sample. Follow the specific removal directions, and don’t score through masking into a thin airframe with a knife.
Keep fitting surfaces, launch-guide passages and any kit-specified openings clear. Paint an unloaded model away from motors and ignition equipment. Follow the coating label and safety data sheet for ventilation, protective equipment and ignition-source precautions.
Make the paper version before the painted version
Wrap a colored paper mockup around the tube without fastening it to uncured paint. Look at the front, back and fin area. Mark which sections stay the base color and which ones get the accent; then write the masking order beside the sketch.
If the plan needs tiny tape pieces in every corner, simplify one feature now. Choose a cap instead of colored fins, one belt instead of several rings, or a plain window instead of a bordered panel. After checking the paper layout and scrap sample, transfer the color boundaries to the model. Keep the sketch nearby so you don’t accidentally paint a section you meant to preserve.