Model rocket range box checklist for a launch day
A model rocket range box should hold the supplies for the rockets you actually plan to fly. That sounds obvious until you reach the field with a controller, spare parachutes and a bag of motors, but none of the batteries your controller needs.
Start with a short flight list, then pack around it. Keep recovery supplies easy to reach, tools separate from motors, and the instructions where you can read them without a phone signal. A small, organized box is more useful than a heavy toolbox full of parts that do not fit your rockets.
This checklist covers ordinary model rocket launch days using certified commercial motors. It is a packing guide, not permission to fly: the kit and motor instructions, applicable safety code, local restrictions and launch organizer’s procedures still govern each flight.
Pack the range box by task
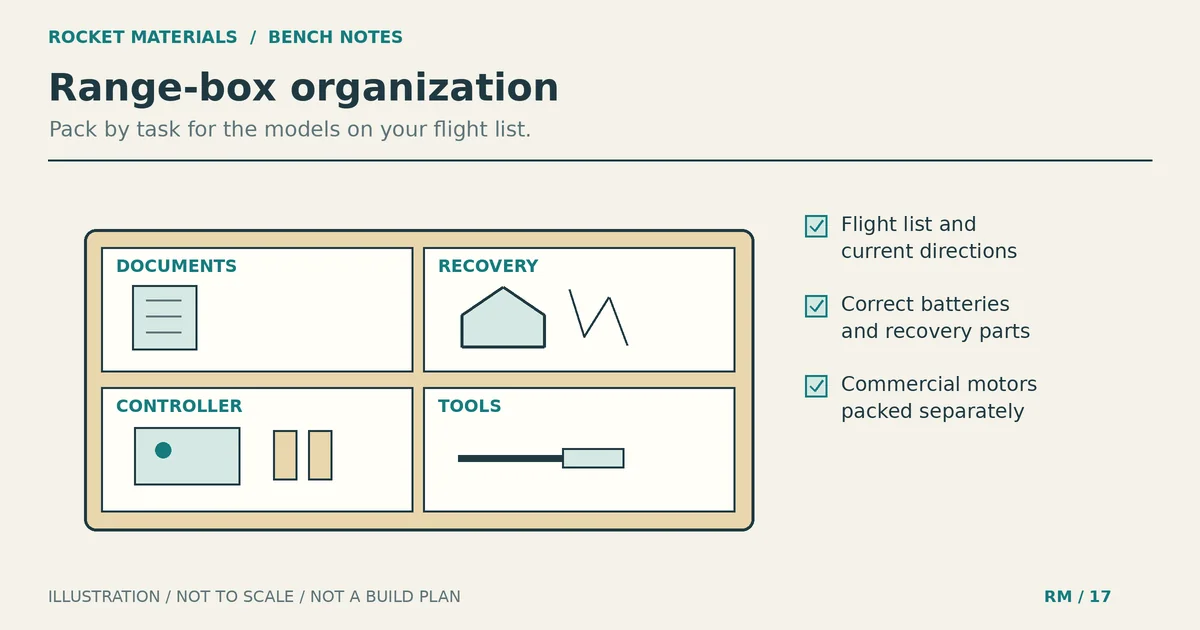
A latching toolbox or compartment case can work. Choose one you can carry comfortably and open on your preparation table without spilling its contents. You do not need a particular brand or a box marketed for rocketry.
Use the following layout as an organizing suggestion, not a motor-storage specification. Carry rockets separately on supports that avoid loading the fins. Follow the motor manufacturer’s packaging, handling and transport requirements.
| Task | What to pack | Where it belongs |
|---|---|---|
| Identify each flight | Flight list, kit instructions, motor instructions, pencil | Document sleeve under the lid |
| Prepare recovery | Kit-specified flame-resistant wadding, compatible replacement recovery parts | Clean, labeled compartment |
| Check equipment | Correct controller batteries, suitable screwdriver, small flashlight | Tool tray, with batteries secured against short circuits |
| Supply each rocket | Approved certified commercial motors and manufacturer-specified commercial starters and plugs | Protected, identifiable packaging, separate from loose tools |
| Record and tidy up | Flight log, hold tags, waste bag | Easy-access pocket |
Before buying a larger box, remove anything that belongs on the workbench. Cutting new fins, mixing adhesives and modifying launch hardware are home preparation jobs. Leave the bench tools at home unless a specific preparation step needs them.
Make a per-rocket flight list
Write the rocket name beside its exact planned motor designation, recovery setup and required launch guide. Include the delay designation; two motors with the same diameter are not automatically interchangeable. Use the rocket manufacturer’s recommended motors and the relevant motor instructions rather than choosing by fit alone.
Add a supplies column. One rocket may need flame-resistant recovery wadding, while another uses a different manufacturer-specified protection system. Pack what each design calls for. Our recovery wadding placement guide explains why both the material and its packing matter. Ordinary tissue is not a substitute.
Bring a compatible spare parachute or streamer if you have one, but label the rocket it fits. A spare canopy that packs into the tube may still be unsuitable for the rocket’s mass or attachment arrangement. Check those details at home with the parachute sizing and drift guide, then follow the kit’s recovery instructions at the field.
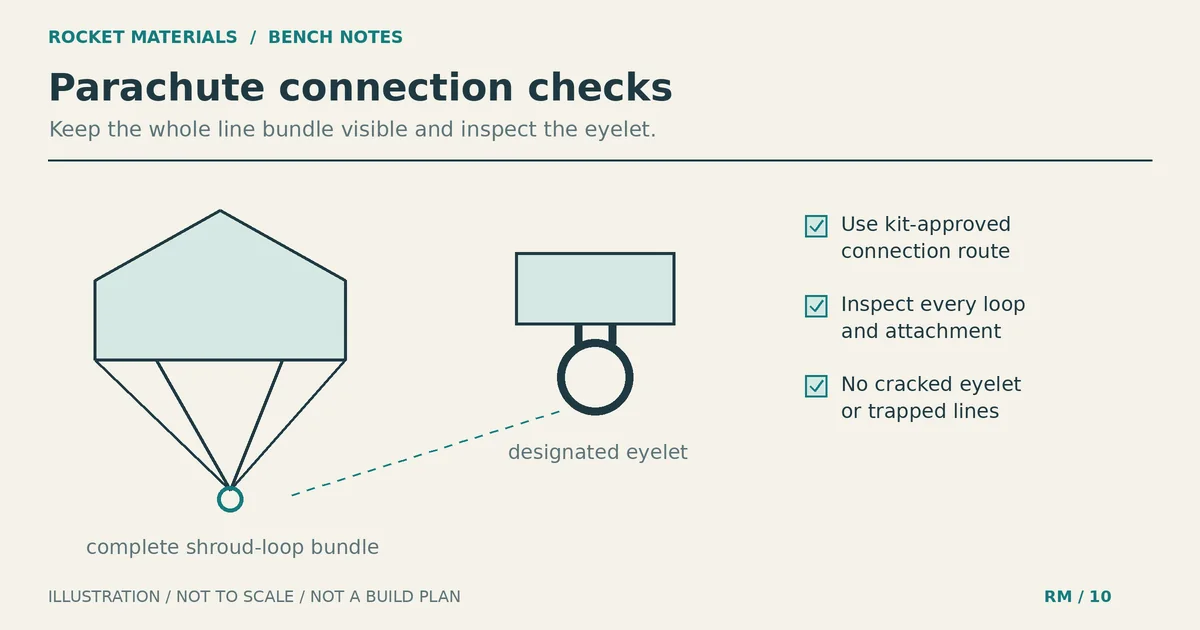
Inspect the recovery attachments before packing. A box of spare cords does not solve an uncertain anchor or a damaged nose-cone eyelet. The shock cord selection and inspection guide covers the checks without assuming one cord suits every rocket.
Check what the launch site supplies
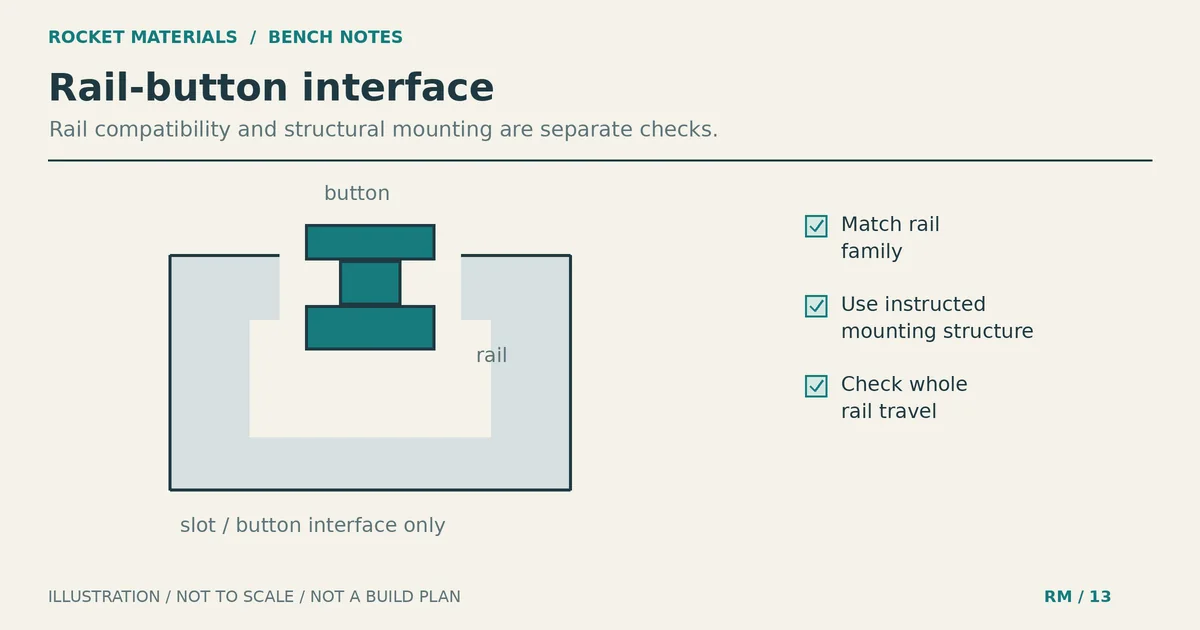
For a club launch, ask whether the organizer supplies pads and controllers, which rods or rails are available, and what you must bring. Confirm check-in requirements and the preparation sequence. Do not assume your rocket’s launch guide matches the equipment on site.
If you supply your own equipment, put the pad and controller on the packing list even when they travel outside the box. Include the correct rod or rail, blast deflector, controller power source and any components specified in the equipment instructions. Check the equipment at home according to those instructions; do not improvise an electrical test with a motor or starter.
The NAR Model Rocket Safety Code requires an electrical launch system with a safety interlock and a launch switch that returns to off when released. It also requires a blast deflector and precautions against eye injury from the launch rod. Packing a spare battery is useful; bypassing a failed safety feature is not.
Review access and conditions before leaving. Estes’ launch-site guidance calls for an open outdoor site, avoidance of hazards such as power lines, and checks on local regulations. Verify landowner permission and any fire restrictions. Postpone the launch if the field or conditions do not meet the requirements.
Keep motors identifiable and protected
Pack only certified commercial motors suitable for the planned flights. Keep labels and instructions with them, and prevent loose tools from striking them. Carry compatible commercial starters and their specified retention parts in protected packaging. Do not make starters, modify motors or improvise substitutes for missing motor components.
Follow the safety information for the exact motor product. For example, the Estes safety data sheet for motors with no more than 30 grams of propellant directs users to keep ignition sources away and protect the product from humidity and water. That sheet is product-specific; it is not a universal storage rule for every motor you might carry.
Do not treat a closed toolbox as protection from a hot vehicle, rain or unauthorized handling. Keep motors under responsible supervision and follow manufacturer storage and transport directions. If a motor is damaged or its condition is uncertain, do not fly it. Seek manufacturer guidance rather than trying to repair or diagnose its internals.
Use a separate hold-from-flight workflow
Bring a pencil and tags that say “hold”. They are useful when a recovered rocket has damage or a preflight check leaves a question unresolved. Note the rocket’s name and the problem, then put it apart from the rockets awaiting preparation.
A cracked fin joint, loose motor mount, crushed tube or damaged recovery attachment needs assessment and proper work away from the launch queue. This guide does not approve structural field repairs for another flight. Tape or adhesive in the box is not evidence that a repaired rocket is ready. If you cannot establish its condition, leave it out of the day’s flying.
A tube’s diameter or material cannot answer that question either. The body tube strength guide explains why a nominal size does not certify a complete airframe.
Know the misfire procedure before anyone approaches the pad. Under the NAR code, remove the launcher’s safety interlock or disconnect its battery, then wait 60 seconds after the last launch attempt before allowing anyone to approach. At an organized launch, follow the range staff’s directions and any longer required wait. Keep the safety interlock out during pad work.
The same code sets minimum spectator distances of 15 feet for D motors or smaller and 30 feet for larger model rocket motors. These are not high-power launch distances. Use the applicable code and organizer’s rules, and do not recover rockets from power lines, tall trees or other dangerous places.
Printable model rocket range box checklist
Print this section and check it against your flight list. Add the requirements from your specific instructions. The blanks record your plan; they do not replace a preflight inspection.
Launch location: ____________________ Date: ____________________
Rockets and planned motor designations: ________________________________________
Organizer’s equipment confirmed: ________________________________________
Before leaving home
- [ ] Launch permission, local restrictions, weather and fire conditions checked.
- [ ] Field size checked against the applicable safety code for the planned flights.
- [ ] Rocket instructions, motor instructions and safety code packed or saved offline.
- [ ] Airframes, fin joints, motor retention and recovery attachments inspected.
- [ ] Each planned motor designation checked against the rocket’s recommendations.
- [ ] Certified commercial motors, compatible commercial starters and specified plugs packed.
- [ ] Required recovery protection and compatible spare recovery parts packed.
- [ ] Pad, launch guide, blast deflector and controller packed if not supplied.
- [ ] Correct power source checked; spare batteries protected against short circuits.
- [ ] Pencil, flight log, hold tags, small tools and waste bag packed.
- [ ] Water, sun protection, suitable footwear and personal first-aid supplies packed separately.
At the field and after each flight
- [ ] Check in and follow the organizer’s preparation and pad-access procedures.
- [ ] Recheck site conditions; stop if the flight or recovery area is unsafe.
- [ ] Complete the manufacturer’s preparation steps and required flight inspection.
- [ ] Keep the interlock out during pad work; connect launch leads only at the pad.
- [ ] Confirm countdown and spectator clearance before launch.
- [ ] For a misfire, disable the system and enforce the required wait before approach.
- [ ] Recover only where safe; inspect the rocket before considering another flight.
- [ ] Tag damage or uncertainty and hold the rocket from flight.
Reset the box before the next launch
At home, update the supplies list while the day’s notes are still fresh. Record what you used and which rockets need attention. Handle spent motors and other waste according to manufacturer directions and site rules; do not put hot items back among unused supplies.
Dry and clean ordinary equipment as its instructions allow. Return unused motors to their proper storage arrangement rather than leaving the packed box in a vehicle. Replace missing supplies, then keep the flight list with the box. Next time, you can check a known inventory instead of trying to remember what survived the last trip.