
BT-60 vs BT-70 body tubes: dimensions and fit
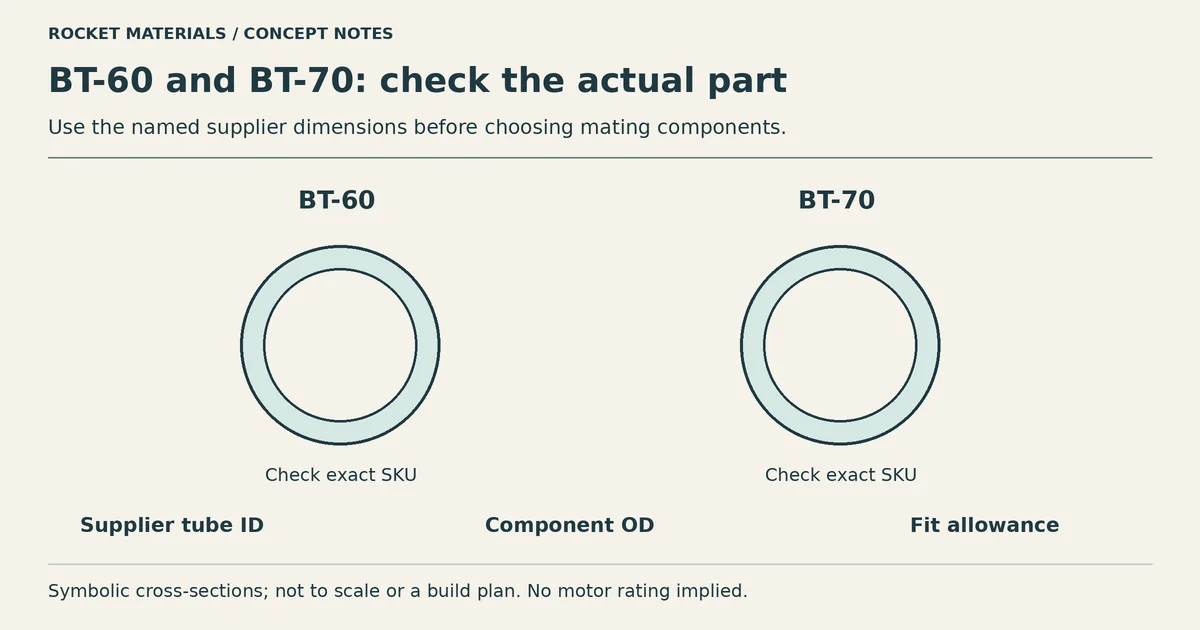
Choosing between BT-60 and BT-70 is mostly a question of space. The larger tube gives you more room for a mount, a payload section or a packed recovery system. It does not, by itself, make a motor safe to fly. This comparison uses two named Semroc paper tubes listed by eRockets rather than treating every supplier’s “BT” label as an exact engineering standard.[1][2][3]
BT-60 vs BT-70: quick answer
Choose BT-60 when your parts fit its roughly 1.6-inch bore and you want a narrower airframe. Choose BT-70 when a 2.175-inch bore gives your planned components useful clearance. Buy the motor mount, rings, coupler and nose cone against the actual tube you will use; check the fit before gluing. Neither choice determines allowable motor impulse, fin dimensions or parachute diameter on its own.
| Supplier-listed property | Semroc BT-60/ST-16, SEM-BT-60P | Semroc BT-70, SEM-BT-70KD |
|---|---|---|
| Material | Spiral-wound paper, glassine outer wrap | Spiral-wound paper, glassine outer wrap |
| Listed length | 16 in | 17.5 in |
| Inside diameter (ID) | 1.600 in (40.64 mm) | 2.175 in (55.25 mm) |
| Outside diameter (OD) | 1.640 in (41.66 mm) | 2.217 in (56.31 mm) |
| Listed wall | 0.021 in | 0.021 in |
The dimensions and lengths are from the individual eRockets product listings.[1][2] The millimeters are conversions at 25.4 mm per inch, rounded to two decimal places. The BT-60 listing’s rounded ID and OD imply 0.020 in per side by subtraction, while it lists a 0.021-in wall. Do not use those rounded figures as machining tolerances. eRockets also notes that actual BT-60 and ST-16 diameters differ slightly: 1.595/1.637 in for BT-60 versus 1.600/1.640 in for ST-16.[3]
What the diameter difference actually buys you
For those two listed parts, the ID difference is 0.575 in (14.61 mm); the OD difference is 0.577 in (14.66 mm). The ID ratio is about 1.36. An unobstructed circular cross-section calculated from the listed IDs has about 1.85 times the area in BT-70. That’s a geometric comparison, not usable payload volume: mounts, couplers, walls, fasteners and recovery gear take up space. It is not a rule for scaling parachutes, fins, tube mass or altitude.[1][2]
The original draft claimed 33-mm and 45-mm bores, a 12-mm step and thicker BT-70 walls. Those numbers do not describe these parts. A different maker’s heavy-wall product may have different dimensions; read its drawing rather than transferring these values.
Match the motor mount to the actual airframe
A motor’s nominal diameter describes the motor, not the outside diameter of its mount tube or the size of the centering rings. The body-tube ID tells you how much radial room exists, but not whether a mount assembly, fin tabs, retention hardware or an ejection/recovery arrangement will work.
For a 29-mm motor in BT-60 or a 38-mm motor in BT-70, start with the specific motor and mount instructions. Check the mount tube’s OD, the ring’s airframe OD and mount ID, retention clearance, fin-tab depth and room for a recovery attachment. A nominal 29-mm or 38-mm label alone is not a fit guarantee. In particular, don’t substitute a bare 38-mm motor for a fitted 38-mm mount, and don’t glue a smaller motor directly into a larger mount as an improvised adapter.
A smaller motor may be used in a larger mount only with a suitable adapter and retention arrangement specified for that hardware. Confirm that both motor and adapter stay retained during thrust and ejection, and that the recovery system can deploy. If you are building from a kit, its parts list and manufacturer instructions take priority over a generic size comparison.
Is either tube automatically rated for a motor class?
No. An impulse letter says nothing by itself about the tube’s wall construction, motor thrust curve, loaded mass, joint strength, fin flutter margin or flight speed. We cannot assign “A through D” to cardboard BT-60, “G” to cardboard BT-70, or “M through O” to a hypothetical fiberglass version from the diameter alone. Fiberglass products need their own drawings and design assessment; their names and sizes are not interchangeable with these paper Semroc parts.
Use a certified, commercially made motor as the manufacturer recommends, assess stability and the planned flight, and follow the launch-site and recovery provisions of the applicable safety code.[4] NAR’s high-power certification guidance places H–I in Level 1, J–L in Level 2 and M–O in Level 3; it notes that certain F/G motors may also require Level 1. Certification and local flight requirements still apply even when a motor physically fits.[5]
Transitions and couplers are different parts
A BT-60 coupler joins compatible BT-60 sections; a BT-70 coupler joins compatible BT-70 sections. Neither makes the smaller airframe magically slip over the larger one. The listed BT-60 OD (1.640 in) is well below the listed BT-70 ID (2.175 in), leaving about 0.268 in (6.79 mm) radial difference before any transition structure. A short BT-60 sleeve glued inside BT-70 therefore does not form the claimed BT-60-to-BT-70 slip joint.[1][2]
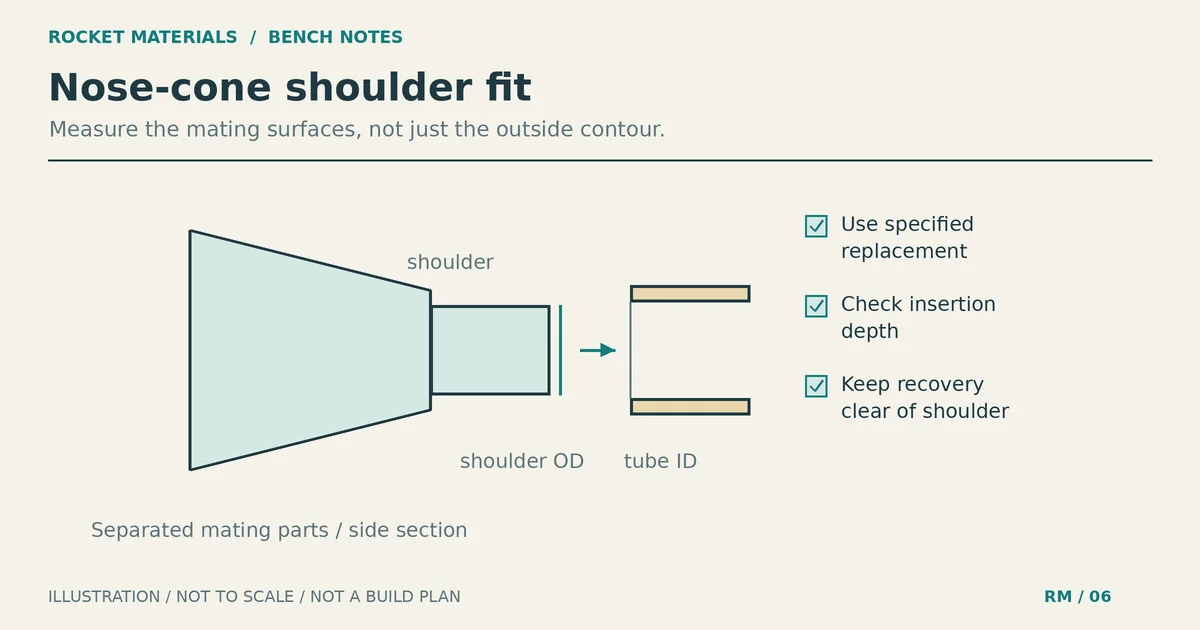
To connect different diameters, use a transition designed with a BT-60-size shoulder on one end and a BT-70-size shoulder on the other, sized to the specific tubes and the loads at that joint. Dry-fit it with the nose cone and couplers. If a section must separate to release the recovery device, make sure the transition and harness arrangement leave that separation path open. The body tube size chart is a useful parts reference, but measure the actual components before bonding.
The coupler dry-fit and joint checks reference offers a blank record for the joint’s role, instruction sources and your observations. Use it to organize your notes, not as assembly instructions for your particular joint; follow your exact kit instructions.
Payloads, fins and recovery: size the whole rocket
BT-70 offers a wider internal envelope, but a payload only fits if the actual camera or electronics, mounting tray, wiring and retention clear the couplers and the available section length. BT-60 may fit a small altimeter in one layout and not another. Make a cardboard mock-up or measure the assembled bay before ordering a nose cone.
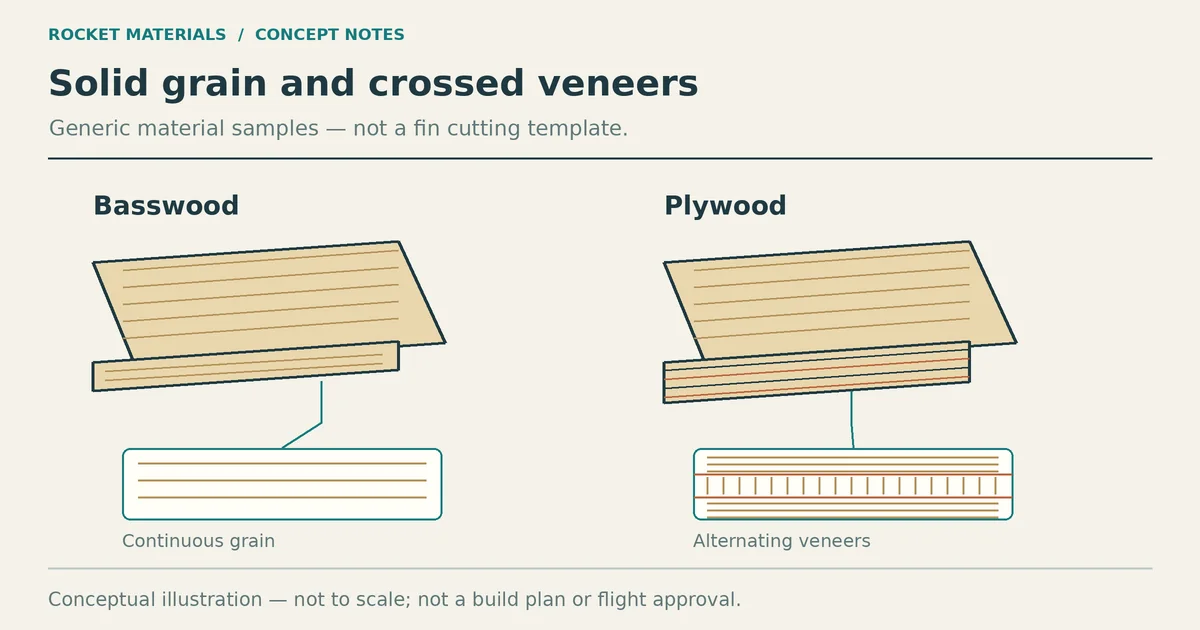
A diameter change also changes the airflow and the rest of the design. Don’t enlarge the fins by a fixed ratio and assume stability or flutter resistance. Account for fin planform, stock, grain, attachments, loaded center of gravity, motor thrust curve and predicted speed. Follow the kit’s alignment instructions and assess the particular fin design.
Choose recovery for loaded flight mass and an acceptable descent/landing outcome, not the BT label. Packing room and attachment points matter as much as canopy diameter. The parachute calculator can help frame a first estimate; check its assumptions, manufacturer guidance and field conditions. NAR calls for a recovery system that returns the rocket safely and undamaged and for flame-resistant or fireproof wadding.[4] No 18-, 24- or 30-inch canopy works for every rocket of a given tube size.
Which one should you buy?
- Pick the Semroc BT-60/ST-16 family if your chosen components and deployment path fit the measured bore and the narrower airframe suits the design.[1]
- Pick the Semroc BT-70 family if the larger bore solves a real packaging problem; budget for matching rings, nose cone, transition and recovery hardware.[2]
- If you are replacing a kit tube, match its specified tube and actual mating parts, not just its nominal BT number. Supplier variation can affect a nose-cone or coupler fit.[3]
There is no reliable blanket price or altitude winner here. Length, material, finish, parts and motor choice all change the build. Check current product listings and make a flight-specific stability, structural and recovery assessment before launch.
Related reading
Sources
[1] https://www.erockets.biz/semroc-body-tube-bt-60-st-16-16-0-long-sem-bt-60p/
[2] https://www.erockets.biz/semroc-body-tube-bt-70-17-5-long-sem-bt-70kd/
[3] https://www.erockets.biz/body-tube-sizes/
[4] https://www.nar.org/ModelRocketSafetyCode
[5] https://www.nar.org/HPRCertification




One Comment