Model rocket fin templates: print, trace and check fit
A model rocket fin template is useful only if it belongs to the rocket you’re building and prints at the intended size. A clean outline can still be the wrong outline. Before you trace anything onto balsa, check the kit name, print scale and grain markings.
The fiddly part is transferring that outline without denting the wood, shifting the paper or leaving adhesive where it doesn’t belong. Keep the kit’s fin shape unchanged while you sort out a transfer method you can remove cleanly.
Quick answer
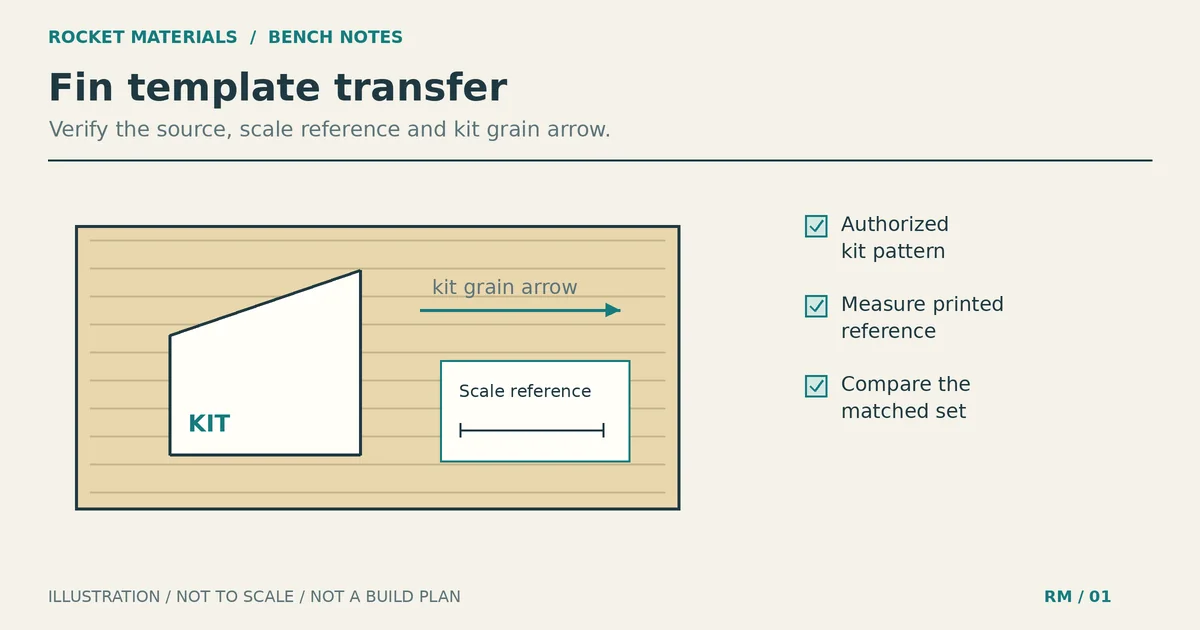
Use the fin pattern supplied or authorized for your exact kit. Print it at actual size, then measure the pattern’s scale reference or a dimension stated in the instructions. Transfer it with a stiff-paper tracing pattern, or use a removable paper template after checking the adhesive on scrap balsa. Follow the kit’s grain arrow, make the required number of matching fins, and check them against the original pattern before gluing.
If you cannot establish the intended dimensions, stop before cutting. A printer setting marked 100% cannot restore the scale of a distorted screenshot or an unknown scan.
Choose the right model rocket fin template
Start with the manufacturer’s instructions for your kit and version. A replacement template should reproduce the specified outline, including any mounting tab or notch. Don’t substitute a similar-looking fin from another rocket just because its root edge seems to fit your tube.
If the kit supplies precut fins, its drawing may be an assembly illustration rather than a full-size cutting pattern. Ask the manufacturer for replacement parts or an authorized pattern when the instructions don’t identify the drawing as full size.
Online libraries need a little care. The Byte Works patterns for Make: Rockets, for example, are tied to projects in that book. They are not interchangeable replacement fins for unrelated kits. Use a project template with its complete instructions, not as a loose shape downloaded from an image search.
Keep the file name, kit identification and source URL with your working copy. It helps when several fin shapes are lying on the bench.
Check print scale before touching the wood
Download the original PDF when one is available. Printing a preview image, a browser screenshot or a photograph adds uncertainty about size. For a pattern labeled full size, select actual size or 100% in the print dialog and turn off fit-to-page or shrink-to-fit scaling.
Then measure the paper. Use the pattern’s printed scale bar, a labeled root length or another dimension explicitly given in the instructions. Don’t measure an unlabeled drawing and treat the result as the design dimension.
- Check the page size and orientation so the whole pattern fits without automatic resizing.
- Print one working copy and measure its stated reference with a ruler.
- If the source provides references in both directions, check both. A scan can be distorted rather than uniformly reduced.
- Confirm that the root, tip and any tab or notch are complete and readable.
- Keep this checked print as the master for comparing later copies.
A correct reference length is a useful check, but it cannot prove every part of a poor scan is undistorted. If an outline is blurred, skewed or inconsistent with the instructions, obtain a better source rather than trying to repair it by eye.
There is no universal fin size to print here. The outline belongs to a complete rocket design; enlarging or shrinking it creates a design change, not a printer correction.
Gather a simple transfer kit
For tracing, set out your checked print, stiff paper or thin card, scissors, a pencil and the kit-specified balsa sheet. A ruler helps verify straight edges and dimensions. Keep the wood on a clean, flat surface so you aren’t pressing it against scraps or dried glue.
For an adhesive-backed paper pattern, you’ll also need a product whose instructions permit temporary, removable mounting on the intended materials, plus scrap balsa for a removal check. A can of general-purpose spray glue is not automatically suitable.
Use the stock specified by the kit. If you are still deciding between woods for a separate design, read the balsa and basswood fin comparison before laying out patterns. This transfer procedure does not establish a suitable material or thickness for a modified rocket.
Transfer the outline without damaging the blank
1. Label the pattern before laying it out
Mark the root edge, which attaches to the rocket, and the leading edge, which faces forward. Preserve any grain arrow, mounting-tab labels and part identification from the instructions. Mark outside the cutting outline when possible so the line stays easy to see.
Make all working copies from the same checked master. Don’t trace each new paper pattern from the last one; small tracing errors can accumulate.
2. Follow the grain marking
Lay the pattern on the sheet with its grain arrow matching the visible wood grain. Don’t rotate it merely to squeeze another fin into a narrow offcut.
The Estes technical manual’s balsa-fin section describes full-size stiff-paper patterns and places the leading edge parallel to the grain. Apply your current kit’s specific directions, especially when the shape differs from that example. Our fin grain-direction guide covers the reasoning in more detail.
3. Trace a stiff pattern, or temporarily mount paper
The stiff-pattern method avoids adhesive on the balsa. Cut the paper or card to the verified outline, check it against the master, and hold it flat while drawing around it with a pencil. Estes describes tracing with a pencil or ballpoint pen; a pencil is a practical choice when you want a visible line without pressing hard.
Keep the pencil close to the edge. Press only hard enough to leave a readable mark, and check that the pattern hasn’t shifted before lifting it. A broad line is harder to interpret consistently than a fine one.
The alternative is a paper pattern attached directly to the sheet. Apogee’s balsa-fin demonstration uses a lightly attached removable pattern and peels it away afterward. It also uses separate copies rather than reusing a pattern damaged during cutting.
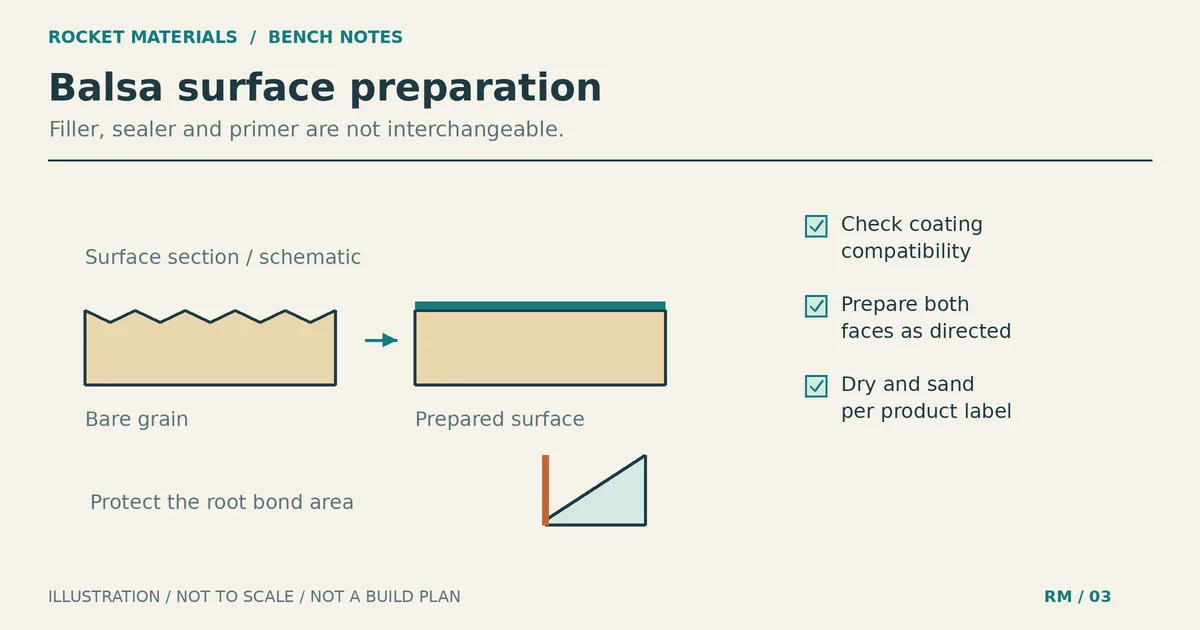
Follow the actual adhesive label for application, ventilation and removal. Check the complete mounting-and-removal process on scrap first. If it leaves stubborn residue or pulls up wood fibers, use the tracing method instead. This is temporary pattern placement, not a paper reinforcement layer to leave on the fin.
4. Inspect every outline before cutting
Count the marked fins against the instructions. Check each grain direction, and make sure no outline crosses a split, damaged edge or another pattern. Compare traced roots and tabs with the master while corrections still mean changing a pencil mark rather than replacing a fin.
Keep the cutting procedure separate from this check. Use the kit’s instructions, a suitable cutting surface and safe tool handling; keep fingers out of the blade path. Children need appropriate adult supervision. Don’t start cutting a pattern that is moving or wrinkled.
5. Remove temporary paper carefully
With the fin supported flat, follow the adhesive’s removal directions and peel the paper gently rather than bending the fin to free it. Stop if the wood starts lifting with the paper.
Don’t soak a fin in an improvised solvent or scrape aggressively at the root to rescue a poor adhesive choice. Seek the product maker’s guidance, or replace a damaged blank using the verified pattern. The scrap check is meant to catch this problem before it reaches your fin set.
Fix template problems before they become fin problems
| What you see | What to check | Next step |
|---|---|---|
| Every copy is too small | Fit-to-page settings and the source file | Reprint from the original file, then measure the stated reference. |
| One dimension matches but another does not | Possible scan distortion | Get a clearer manufacturer pattern; don’t stretch the outline by eye. |
| A doubled pencil outline | Pattern movement while tracing | Reposition against the master and identify the correct outline before cutting. |
| Paper wrinkles or lifts | Flatness and temporary mounting | Replace the working paper copy rather than cutting through a shifted pattern. |
| Paper removal lifts fibers | Adhesive suitability and the scrap check | Stop peeling; get removal guidance and replace damaged stock if necessary. |
| The root or tab differs from the plan | Wrong pattern, scale or copied outline | Resolve the mismatch before sanding or altering the airframe. |
Compare the set and check fit
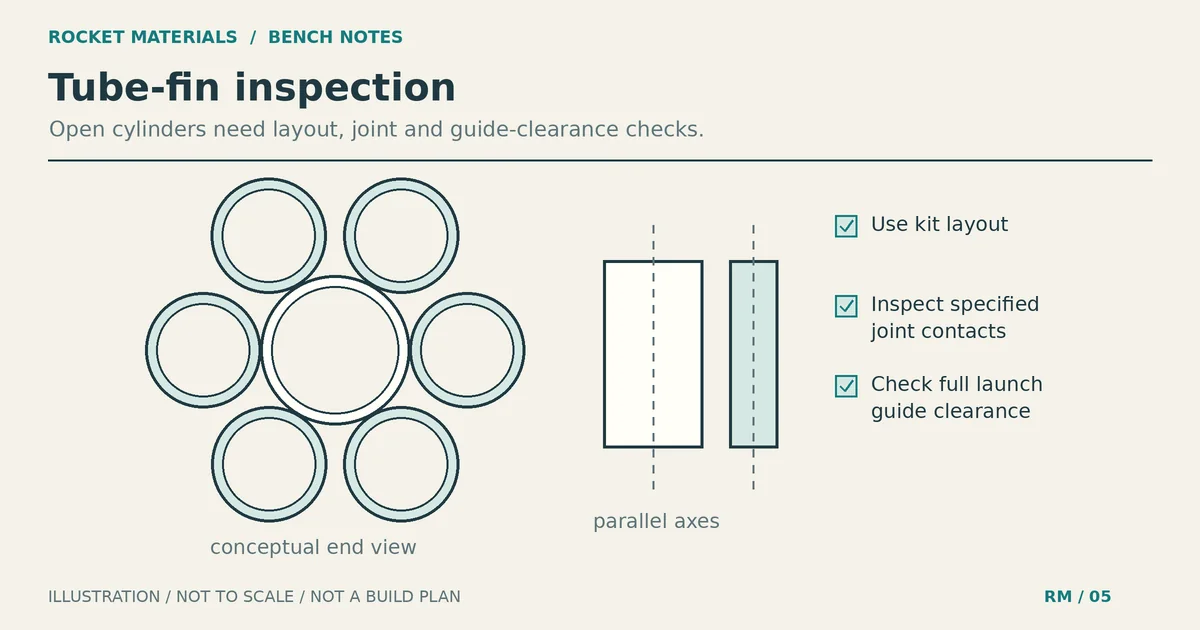
Once the fins are cut and temporary paper is removed, compare each one with the master pattern. Then stack the matching fins with their root edges aligned to reveal differences in the outlines. Estes recommends stacking fins and sanding their edges square; keep any cleanup within the intended shape rather than sanding every fin down to match a badly undersized one.
Check the roots and any tabs against the kit’s attachment arrangement without glue. The root should remain straight and square where the instructions require it. A fit problem is a reason to check the pattern and parts, not permission to shorten a tab or widen a body-tube slot.
Fin attachment is the next job. Use the fin alignment and inspection guide for marking and placement. Matching outlines alone do not establish flight stability or a sound attachment.
Before-you-glue checklist
- The pattern belongs to this kit and version.
- The printed reference matches the manufacturer’s stated dimension.
- Every fin follows the specified grain direction and outline.
- The required fin count is complete, with roots and tabs checked against the master.
- Temporary paper is removed, and the wood has no lifted fibers, splits or unresolved adhesive residue.
- The parts match the instructions during a dry fit.
Keep the checked master with the kit instructions. If you need another fin later, start from that copy instead of tracing a damaged part or guessing its missing corner.