Model rocket paint: prep, thin coats and common faults
A run down the body tube is usually a reason to stop spraying, not add another coat. A visible wood grain line needs preparation, not more color. Good model rocket paint results depend on what is underneath the paint and how much you apply at once.
For a typical kit with a paper tube, wood fins and a plastic nose cone, prepare each material separately, check that the coatings work together, and build coverage with light passes. The kit instructions and the exact paint label come first. A general rocket-building guide cannot set the recoat schedule for every aerosol on the shelf.
Choose a coating system before opening a can
You need a paint suitable for the actual surface, plus any filler, sealer or primer required beneath it. A brand name alone does not establish compatibility. Different product lines from one manufacturer can have different preparation requirements and recoat windows.
The Estes Model Rocketry Technical Manual’s finishing section describes enamel spray paint as an accessible option, warns about mixing incompatible paints, and recommends testing on scrap. Check the part and paint instructions before choosing an enamel for a particular surface.
Before buying or using a coating, check:
- The approved surfaces, including the particular plastic used in the nose cone if the kit identifies it.
- Which primer or existing finish the topcoat can cover.
- The application conditions, spray distance and mixing instructions.
- The allowed interval between coats and any separate sanding, handling or topcoating instructions.
- The ventilation, protective equipment and disposal requirements on the label and safety data sheet.
Make a test piece from matching scrap when possible. Use the intended preparation and complete coating stack, including clear coat if you plan to use it. Let each layer reach the stage its instructions require. A quick color dab on bare wood does not test paint over your chosen sealer.
If the test wrinkles, stays soft or peels, resolve that problem before coating the rocket. A successful scrap test reduces uncertainty, but it does not replace the manufacturer’s substrate restrictions.
Prepare the airframe without damaging it
Finish the structural assembly and let the adhesives cure as instructed before painting. Check the fin joints and launch-guide attachment while they are still visible. Paint can hide a gap without fixing it. Our fin alignment and joint inspection guide covers those assembly checks.
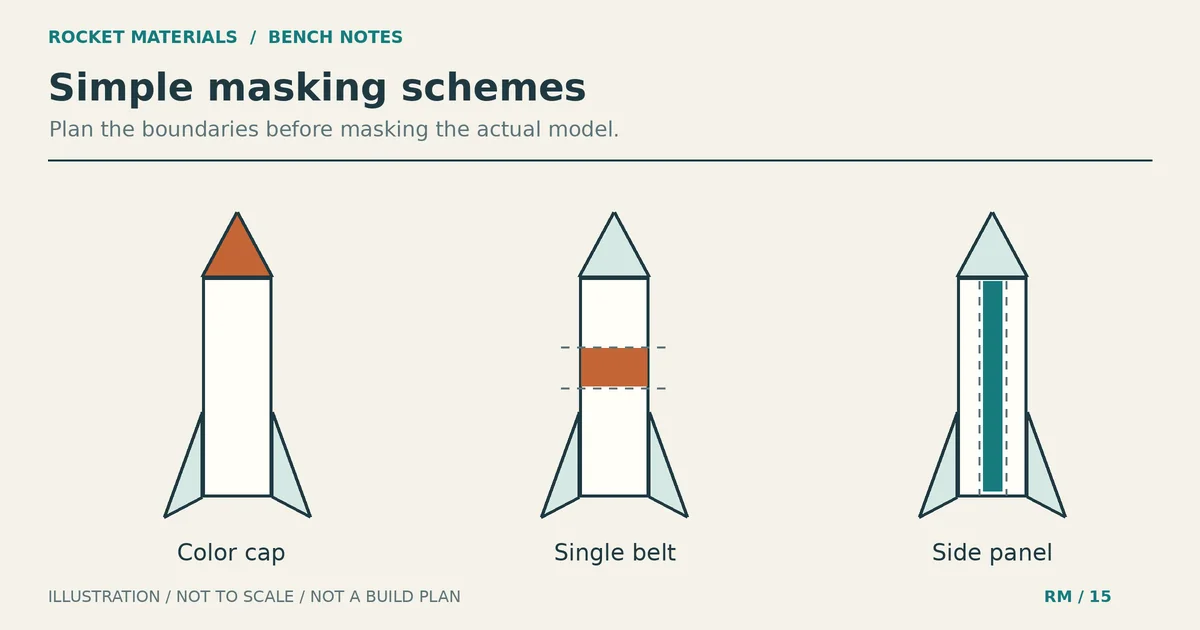
Work with an unloaded rocket. Keep motors and starters away from the painting area. Use a stable, non-motor holder that supports the model without crushing the tube or loading a fin joint. Protect the nose-cone shoulder, tube openings and launch-guide bore from overspray; this is functional protection, not a color-masking plan.
Paper body tubes
Remove loose dust gently. Do not wash a paper airframe as though it were a metal garden chair, even if a general-purpose paint sheet gives washing instructions for washable surfaces. Avoid soaking the paper or applying an unapproved solvent.
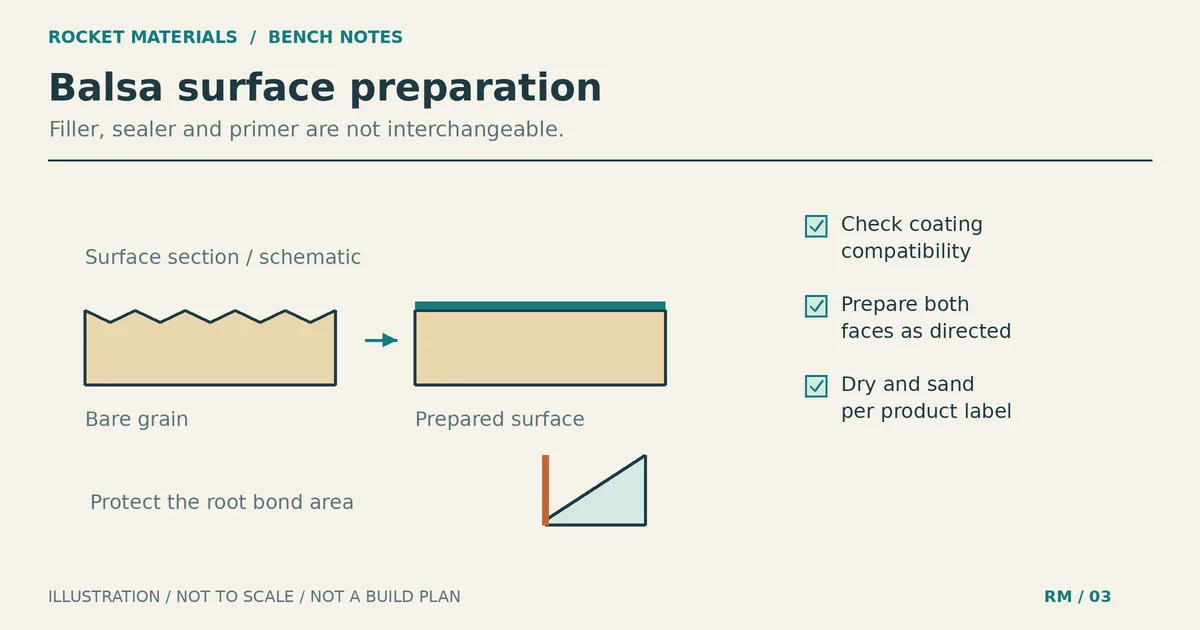
Decide whether you need to fill visible spiral grooves. They are a surface-preparation job; flooding them with color adds coating without reliably making the tube smooth. Apogee’s body-tube spiral preparation guide specifically addresses sanding filler without damaging the thin outer paper layer.
Stop if sanding exposes fuzzy fibers. More aggressive sanding can remove more of the tube skin. Use a kit- and coating-compatible preparation method rather than trying to grind the paper smooth. The cardboard and fiberglass body-tube comparison explains why material choice changes the preparation job; a glossy fiberglass surface is not automatically ready for paint either.
Wood fins and plastic parts
Wood grain needs filling or sealing if you want a smooth finish. Estes makes the distinction plainly: paint cannot replace sandpaper. Prepare the fins using a compatible filler or sealer and follow its sanding instructions. Keep their edges and intended shape intact rather than sanding away wood to remove every visible mark.
For a plastic nose cone, follow the part and coating makers’ cleaning and scuffing directions. Do not assume every plastic accepts the same primer. Rust-Oleum’s instructions for its Painter’s Touch 2X Ultra Cover High Gloss line warn that some polyethylene surfaces can hinder adhesion and call for a hidden-area test. If the plastic type or coating suitability is unclear, ask the manufacturer before painting it.
Remove sanding dust using a method suitable for the substrate and coating. Leave the surface dry and avoid touching prepared areas with greasy fingers.
Apply model rocket paint in light, moving passes
Set up outdoors or in a space that meets the product’s ventilation requirements, away from flames, sparks and other ignition sources. Follow the label and safety data sheet for protective equipment. Do not assume a dust mask protects against solvent vapor. If you cannot meet the safety requirements, postpone spraying.
Check the application conditions too. Wind carries overspray and dust; unsuitable temperature or humidity can affect the finish. Do not try to compensate for poor conditions by putting on a thicker coat.
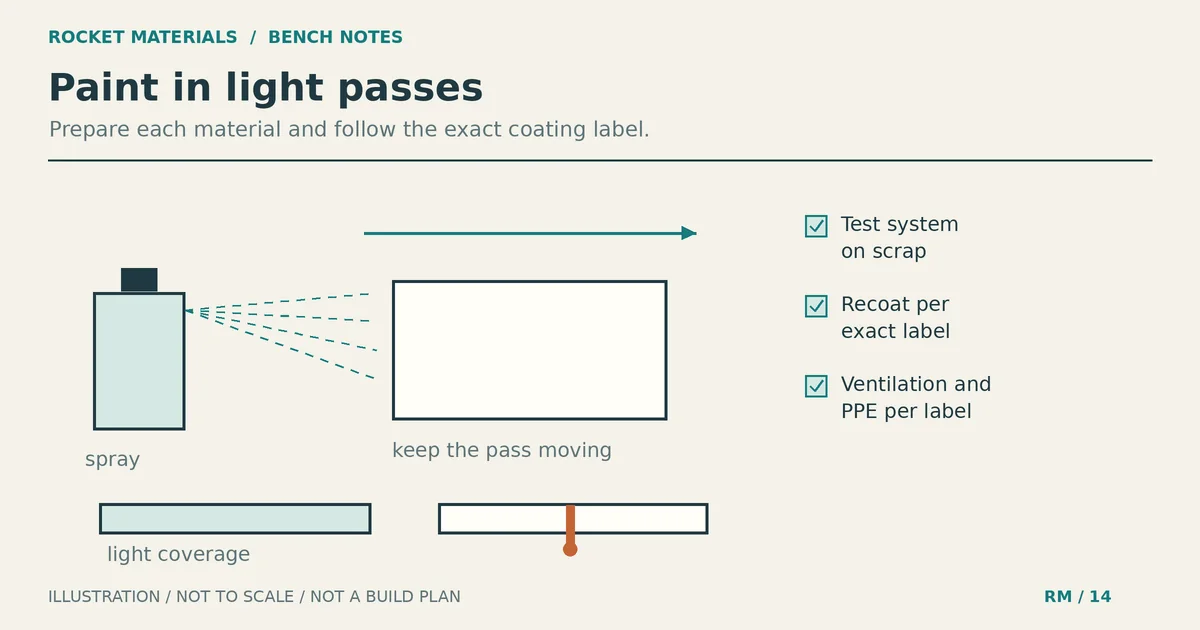
- Mix the coating as its label directs. Test the spray pattern on scrap away from the rocket. If the nozzle spits or the pattern is irregular, stop and follow the manufacturer’s maintenance instructions.
- Use the label’s specified distance. Move the can steadily across the surface, keeping the distance consistent rather than swinging your wrist through an arc.
- Start the pass just off the model and release the spray after moving past it. Slightly overlap adjacent passes as the product directs. Do not pause with the spray aimed at a fin tip or fillet.
- Rotate or reposition the supported rocket between passes to reach the next surface. Watch the fin roots and tube underside, where overlapping spray can build up unnoticed.
- Stop before the wet paint pools. Let the coating reach the next-coat stage specified by its instructions, then repeat light coats until coverage is even.
The first light coat may look incomplete. That is less troublesome than a sag you must repair later. Estes recommends several light, even coats instead of trying to cover the model with one thick coat.
A compatible sandable primer can provide a uniform base and expose small defects before the color coat. Inspect it under light from the side. Correct rough spots using the primer’s sanding directions, then remove dust. Do not copy a universal instruction to sand between every color coat; the paint maker’s process controls that decision.
Dry to touch does not mean ready to recoat
Touch dryness, handling readiness and permission to add another coating are different instructions. Use the one that matches your next task. Record when you applied the coat so you are not relying on a guess later.
For a concrete example, Rust-Oleum’s Painter’s Touch 2X Ultra Cover High Gloss instructions specify a second coat or clear coat within one hour or after 48 hours. The published dry and recoat times are based on stated temperature and humidity conditions, with more drying time needed in cooler temperatures. That schedule belongs to that product line. It is not a general model rocket paint rule.
The current 2X Ultra Cover product page also emphasizes light coats and a wrinkling-prevention schedule. Check the exact can and its matching technical sheet for your color, finish and market. If those instructions conflict with a generic guide, use the product instructions or ask the manufacturer.
Keep the model supported in a suitable clean drying area. Do not use an oven, heat gun or improvised heated enclosure to accelerate drying. Leave clear coat out unless it serves a purpose and is compatible with the finish; it adds another layer and another opportunity for a coating conflict.
Troubleshoot the fault before adding paint
These are possible causes, not diagnoses from appearance alone. Stop coating, inspect the surface and review the product directions before choosing a repair.
| Fault | What to check | Next step |
|---|---|---|
| Runs or sags | Heavy application, a paused pass, or extra overlap near a fin root. | Leave wet paint alone. Wait until the coating is ready for the manufacturer’s repair or sanding procedure, then level the defect without cutting into the airframe. |
| Wrinkles or lifting | Coating compatibility and whether the next layer went on outside the permitted window. | Do not bury the fault under another coat. Test the corrected coating sequence on scrap before repairing the model. |
| Grain or spirals still visible | Whether the underlying surface was filled and smoothed before color. | Return to compatible surface preparation if a smoother finish is needed. More color is not a substitute for filling. |
| Rough or gritty finish | Dust, windy conditions, spray pattern and departure from the label’s application distance. | Correct the conditions and test the spray on scrap. Sand only when and how the coating instructions allow. |
| Peeling on plastic | Plastic suitability, cleaning, primer choice and the required adhesion-development time. | Consult the coating maker. Adding thickness does not resolve an unsuitable substrate. |
| Persistent softness | Excessive film build, unsuitable drying conditions or incompatible layers. | Allow the specified drying conditions and seek manufacturer advice if it remains soft. Do not handle, sand or overcoat it prematurely. |
Check fit and finished mass before flight preparation
After the finish reaches the required handling stage, remove protective masking and check the nose-cone fit and launch-guide clearance against the kit instructions. Look for paint bridging an opening or bonding parts that must separate. Keep recovery components free of paint.
Extra filler, glue and paint all contribute to finished mass. The adhesive selection and cured-mass guide explains why the finished assembly matters more than a product name. Weigh the completed rocket and use the kit’s flight requirements or the appropriate design review; a smooth finish does not establish flight suitability.
Before the next coat, inspect the surface and check the recoat window. Wait if the timing is wrong; repair the preparation if the surface still needs work.